Showing posts with label not on pinterest yet. Show all posts

Thursday, November 24, 2011

How To-- Greens

For Karen, over at The Art of Doing Stuff (possibly my favoritest blog evar next to The Bloggess), a picture tutorial to cooking greens for when my seeds make it through customs!

You will need:
*10q stock pot
*3lb greens (aka, "a mess")
*Siracha sauce to taste
*Salt to taste
*Ham hocks, turkey necks, etc.-- whatever's handy!

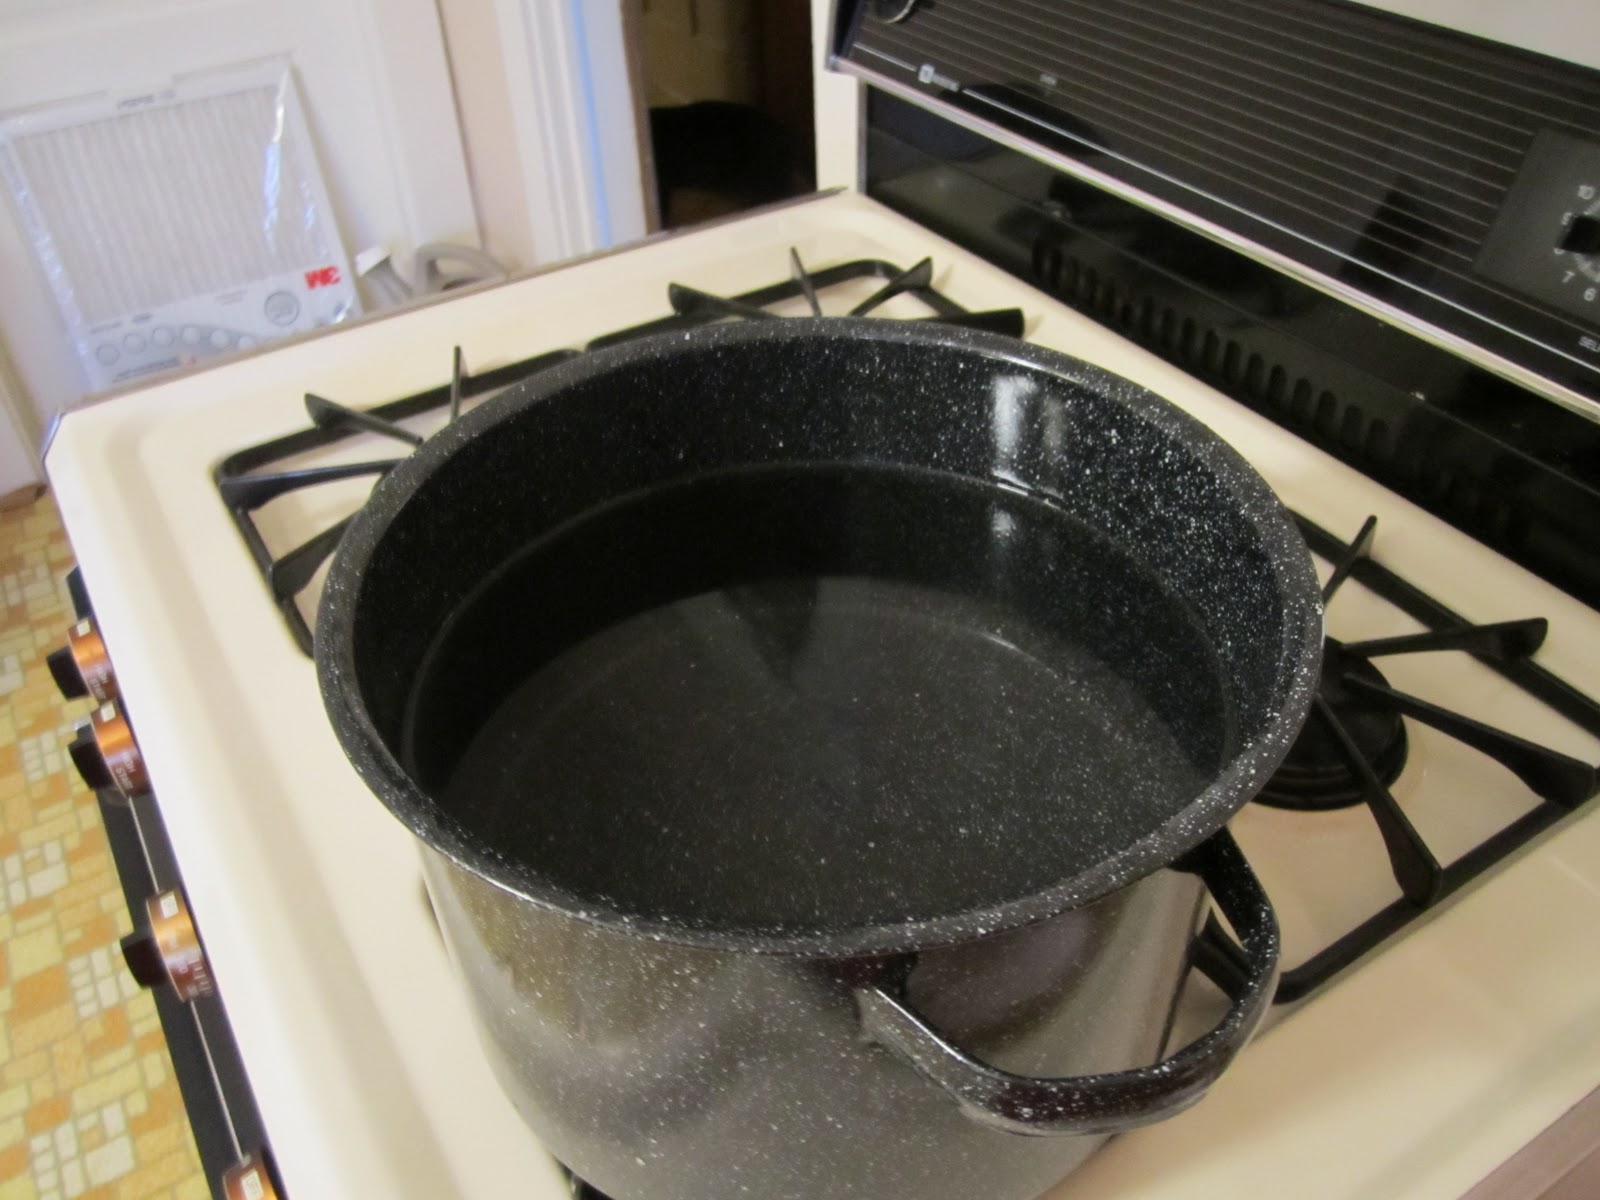
I only had a 7.5q stock pot, but I filled it about 3/4 the way full-- you can do 3/4 full on your 10q

Check your greens to make sure they're not looking wilted or icky (technical term)

If you end up using something like, oh, jowl bacon just slice it up in to strips and cut that down in to chunks

(these chunks are a lot more appetizing than you thought they'd be, right?)

When the water has reached a rolling boil, put the first pound in-- pat it down and throw in your chopped up bacon or turkey neck or what have you. If you have a larger pot, you should be able to slowly add in the entire 3lb of greens. Since I had a smaller pot, I put the lid on and let them boil down for about five minutes, then added the rest in. 

By the last pound, the pot was getting pretty full, so I started siphoning off some of the extra stock; if you have to do this, you'll want to reserve some of it to freeze any leftovers!

Now for my favorite part-- Siracha!! If you like it spicy, put a good helping on top and mix it in.

Throw in a couple palm fulls of salt (yeah, again, technical) to get everything nice and tender

If you're anything like me, you'll add a little more Siracha before putting the lid on and then let it cook for about another 20 minutes on medium. The great thing about greens is that you can let them cook to your desired tenderness-- I usually get them to fairly tender with just a hint of crunch, a little like broccoli!

If you have leftovers (which, honestly,  you will with three pounds!) you can take some of that broth you set aside, put it in ziploc bags with your greens and put it in the freezer. To defrost, pop in the microwave or a pot, or just put in the fridge to melt!

Happy Thanksgiving, y'all!


Wednesday, November 23, 2011

Pinspiration Nails

Being sick takes a lot out of me, so I'm excited to get back to some little projects here and there that I love so much! This week, I went with some more nails-- I found this pin a while back and I've wanted to try it out, and when I sat down to try it I of course decided to make it snazzy!

I chose the orange and blue because they were nice, vibrant colors but I didn't want too much of one or the other. So, here goes!

A sheet of hole protectors, your polish colors, and since I lost my top coat I just used the base coat twice.

Cut your hole protectors in half


Paint your base color on

I used Caliente Coral from Sephora by OPI

For the look I wanted, I put the stickers on about halfway up my nails

Paint over the entire nail with your contrast color (I used "Teal We Meet Again" from the same Sephora by OPI Collection)

I found it was easier to pull the stickers off immediately after painting-- unlike scotch tape, the paper on the hole protectors got a little soggy and messed up the bottom coat a bit

If you look at the thumb and pointer here, you'll see why it's important to push the stickers down all the way so you get a nice even edge!

These looked great and I got a LOT of compliments on them! The only funny thing was that the blue paint over the orange turned out greenish!! I'll definitely try the original Pinspiration soon, especially since I have some beautiful green shades to try and some time to kill with surgery coming up!


Wednesday, November 2, 2011

Pretty Pearls

I volunteer with a chapter of my sorority as an adviser-- I love making little things for my gals when they do a phenomenal job and a set of pearls always does the trick! Of course, pearls are muy out of my budget so I decided to make her a necklace-- way easier than I thought!
DandyLine thread, which was really easy to use and the perfect tension!

Charms to represent some of the symbols this chapter uses
Clasps-- because a necklace that doesn't stay on just isn't worth it

A needle to thread the DandyLine through

Crystazzi Pearls, on sale but cheap anyway-- over 150 of these guys in a pack!

I strung the pearls on using the needle and thread, about 30 to start with

Then I separated the charms with one pearl apiece, then strung another 30 on the other side

I finished the other end at the clasp point and here's the finished product! I have to admit I lost my ruler, so I don't know how long the necklace is, but it rests just below my clavicle and is very comfortable! I can't wait to try my hand at some more jewelry. 

Monday, October 24, 2011

Emma Frost Nails

OK, this is an easy one, and was inspired by Emma Frost, first lady of the Hellfire Club (for my fellow geeks out there) and the sexy chick from "X-Men: First Class" (for my non-geeks out there) with the Diamond skin.

I was at CVS the other day and they had a sale and I had a coupon, so I thought this combination would be awesome!

The extremely white Sally Hansen InstaDry "White Out"

I really like this one because it puts on a smooth coat

And it's easy to clean up the edges since the polish legitimately InstaDries!

I covered it with Sally Hansen "Diamonds" which is why I decided these were Emma Frost nails :) 

It's been really hard to take a picture of this and get the full effect, but they were SHINY! I'm definitely using this one again for winter!

Materials Used: Sally Hansen InstaDry in "White Out" and Sally Hansen "Diamonds"
Cost: Generally inexpensive, but I did get everything on sale...
Time: 30 minutes all told-- the InstaDry is definitely my new favorite product!
Conclusion? I'd definitely do this again! I didn't have a bottom coat handy, so I'm going to try that next time since I think the "Diamonds" coat made things a little brittle, but it's definitely effective :) 

Wednesday, September 28, 2011

Caprese Breakdown

We still had some tomatoes and mozzarella left (the basil decided to peace out, the little twerp!) after those caprese bowls/balls/bakes and I love that caprese salad so I thought to myself, "Now that you have some balsamic vinegar, you could make a REAL variation on caprese!"

Yeah, anyone notice something wrong with this picture?


Correctamundo, dear reader, the Red Wine Vinegar and the Balsamic Vinegar have a nearly identical label and I did not manage to notice this until AFTER I'd started dashing a decidedly NOT dark substance on my deconstructed caprese!

Before that, I chopped up the tomato...

And pulled out some mozarella balls to be quartered...


Then tossed it all together with the salt, olive oil, and red wine vinegar...


Gotta love the glow of olive oil on mozarella! And the red wine vinegar actually wasn't a bad addition-- you have to super like sour stuff, though, because it was on the tart side. Thankfully, I adore sour/acid so it was right up my alley. I ate the tomatoes first and let the cheese soak up some of the liquid... superb!

Rating: Easy Peasy
Cost: Cheap-- it's leftovers!
Conclusion: Delish! Definitely a great "re-hashed" leftovers sort of deal

Thursday, September 22, 2011

Baked Caprese, Caprese Bowls, Caprese Balls...

OK, so I'm not starting this off right since this one didn't originate from a specific Pin, but there were so many awesome Caprese salad variations I just went for this one on a whim! I was still INSPIRED by Pinterest, so it counts, right? OK, fine, I'll get around it by pinning it myself!


All you need is a few fresh tomatoes with the top half scooped out, some mozarella (I used mozarella balls from the farmer's market) and some basil! I topped it off with a little kosher salt and some olive oil, then popped them in the oven at 350 for about 15 minutes. Next time, however, I will poke some holes in the bottom of the tomatoes because the juice almost got in the way of enjoyment. I didn't have any balsamic vinaigrette, but I picked some up the other day and will be adding it to round 2: deconstructed caprese! 

Rating: Easy Peasy
Cost: Cheap
Conclusion: Delicious-- if you like caprese salad, you have to give this a try! People will think you're super fancy!